Mostbet App UK Download – Get the Latest Version & Download APK Now
The Mostbet app stands as one of the premier betting platforms tailored specifically for UK bettors seeking a comprehensive wagering experience. Available in its latest version for both Android and iPhone devices, the Mostbet app download process has been streamlined to provide immediate access to an extensive array of sports betting and casino games. This versatile application combines the excitement of traditional sports markets with the thrill of virtual casino entertainment, all within a secure, user-friendly mobile interface.
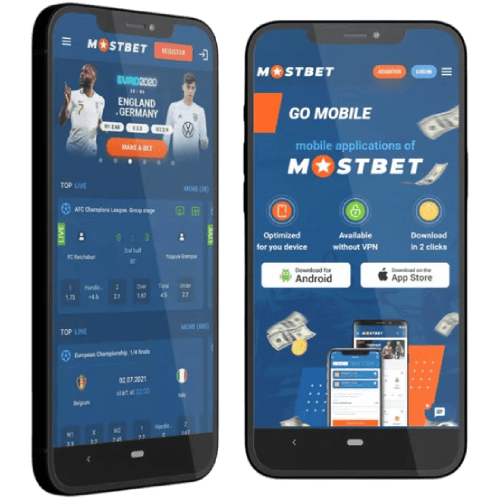
What distinguishes the Mostbet app in the competitive UK betting landscape is its exceptional blend of functionality and accessibility. New users benefit from generous welcome bonuses that can reach up to £25,000, while the platform’s intuitive design ensures effortless navigation between betting markets and casino offerings. Security remains paramount, with the application employing advanced encryption protocols to safeguard user data and financial transactions. Whether you’re a seasoned bettor or new to mobile wagering, the following step-by-step guide will walk you through the download process, enabling you to begin using Mostbet app services within minutes on your preferred device.
Why Choose the Mostbet App in the UK?
The Mostbet app distinguishes itself in the competitive UK betting market through its exceptional combination of comprehensive features and user-centric design. Operating under a Curacao license since 2009, Mostbet ensures complete legality and transparency for UK players seeking reliable sports betting and casino experiences. The platform’s robust security settings implement advanced encryption protocols that safeguard personal information and financial transactions, addressing the primary concern of contemporary digital bettors.
What truly sets the Mostbet app apart is its remarkable user interface that balances aesthetic appeal with functional efficiency. UK players benefit from intuitive navigation between diverse betting markets and casino games, while the generous welcome bonus—reaching up to 15,000 rupees—provides substantial incentive for new registrations. The mobile version maintains all functionalities of the desktop site without compromising on performance, allowing seamless transitions between devices.
Perhaps most impressively, Mostbet’s 24/7 customer support ensures that UK players never navigate challenges alone. The app support team remains accessible through multiple channels—live chat, email, and telephone—providing prompt resolution to queries and demonstrating Mostbet’s commitment to user satisfaction. This comprehensive service ecosystem makes Mostbet a compelling choice for discerning UK bettors.
Mostbet App Download for Android & iOS – Step-by-Step Guide
Accessing the Mostbet betting platform on mobile devices requires following specific installation procedures that vary between operating systems. Both Android and iOS users can enjoy the full functionality of the platform, though the download methods differ significantly due to platform policies. The following sections provide comprehensive installation instructions tailored to each operating system.
How to Download and Install Mostbet App on Android?
Android users seeking to download the Mostbet app will need to obtain it directly through the official website rather than the Google Play Store due to Google’s restrictions on gambling applications. The mostbet apk installation process requires adjusting your device’s security settings to permit installations from unknown sources. Follow these detailed steps to successfully install the application:
- Adjust Security Settings – Navigate to your Android device’s Settings menu, locate Security or Privacy settings, and enable the “Allow installations from unknown sources” option to permit mostbet app download.
- Visit the Official Website – Open your mobile browser and navigate to the official Mostbet website. Scroll to find the mobile application section clearly marked with the Android logo.
- Download APK File – Tap the Android icon to initiate the download process. The mostbet app apk for android will be downloaded directly from the Mostbet server to your device.
- Install the Application – Once the download completes, open the APK file from your notifications panel or file manager. Follow the on-screen prompts to complete the installation.
- Configure Security Settings – After installation, consider reverting your security settings to their previous state to maintain device protection.
When a new version releases, the app typically notifies users automatically. To update manually, simply repeat the download process – the new version will replace the existing installation while preserving your account information and preferences. The entire process takes approximately 2-3 minutes and requires minimal technical knowledge.
Mostbet App Download for iPhone and iPad
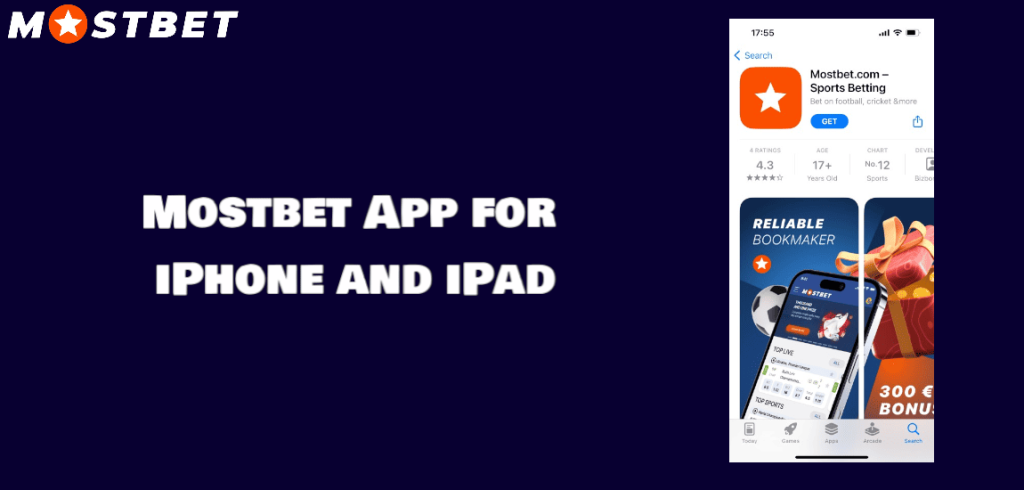
Apple users benefit from a more straightforward installation process as the Mostbet app for iOS is available directly through the App Store. This official distribution channel ensures security and legitimacy while providing a seamless download experience for iPhone and iPad users.
To download the app on iOS devices:
- Open the App Store on your iPhone or iPad
- Search for “Mostbet” in the search bar
- Locate the official application and tap “Get” or “Download”
- Authenticate the download using Face ID, Touch ID, or your Apple password
- Wait for the installation to complete and open the app
The Mostbet app iOS requires devices running iOS 11.0 or higher, making it compatible with iPhone 5S and newer models, along with most iPad versions released after 2013. The application is optimized for various screen sizes, ensuring proper display formatting on both the compact iPhone screen and larger iPad display.
The iOS version delivers particularly smooth performance, with users reporting quick transitions between betting markets and responsive in-play wagering capabilities. The app for iOS maintains identical functionality to its Android counterpart while adhering to Apple’s stringent design guidelines, resulting in an intuitive user interface that feels native to the iOS ecosystem. The 113.9 MB file size, though larger than the Android version, contributes to the application’s polished visual presentation and stable performance.
System Requirements for Mostbet Mobile App
Understanding the technical prerequisites ensures optimal performance of the Mostbet app’s features across various devices and operating systems.
Minimum Requirements for Android Users
| 🤖 Android version | 5.0 or higher |
| 💾 Storage space | Minimum 20 MB free space (APK file: 19.46 MB) |
| 🧠 RAM | 1 GB recommended for smooth performance |
| ⚙ Processor | 1.2 GHz or faster |
| 📱 Compatible devices | Any android device with internet access (smartphones and tablets) |
| 🔎 Screen resolution | All resolutions supported with adaptive interface |
| 🌐 Internet connection | Stable connection required (Wi-Fi or mobile data) |
The application is extensively optimized to function efficiently even on devices with modest specifications. Regular updates enhance performance while maintaining minimal resource consumption, allowing users to update the app without concerns about increasing hardware demands.
Minimum Requirements for iOS Users
| 🍏 iOS version | 11.0 or higher |
| 💾 Storage space | Minimum 120 MB free space (App size: 113.9 MB) |
| 📱 Compatible iPhone models | iPhone 5S and newer models |
| 📲 Compatible iPad models | iPad Air, iPad Mini 2, iPad Pro, and newer models |
| 🔎 Screen size | All iPhone and iPad screen dimensions supported |
| 🌐 Internet connection | Stable connection required (Wi-Fi or mobile data) |
The ios app benefits from Apple’s rigorous optimization standards, resulting in consistent performance across supported devices. Distribution through the App Store simplifies the installation process while ensuring each smartphone or tablet receives the latest version automatically. This centralized distribution method eliminates compatibility issues that sometimes affect Android installations.
Using the Mostbet Mobile App – Features & Functionality
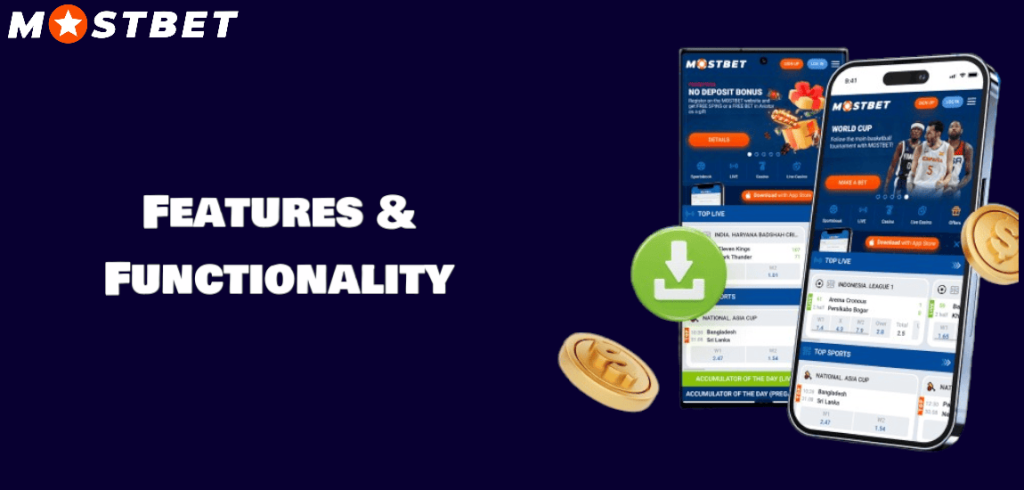
The Mostbet application delivers comprehensive gambling functionality within an intuitive mobile interface, maintaining feature parity with its desktop counterpart while optimizing for touchscreen interaction and on-the-go accessibility.
Sports Betting Options on Mostbet App
The Mostbet platform excels in providing extensive sports betting options across both mainstream and niche sporting categories. Football (soccer) commands the most comprehensive coverage, with markets spanning major leagues like the Premier League, La Liga, and Bundesliga alongside lower-tier competitions and international tournaments. Cricket, tennis, basketball, rugby, and boxing receive similarly thorough treatment, with specialized markets catering to UK bettors’ preferences.
The app’s real-time functionality particularly shines through its in-play betting section, where odds update continuously based on match developments. Users can monitor multiple events simultaneously through the multi-view feature, while the cash-out option allows for strategic bet management during fluctuating game circumstances. The odds comparison tool embedded within the interface enables bettors to evaluate Mostbet’s offerings against market standards, ensuring informed wagering decisions regardless of sporting discipline.
Mostbet Casino App – Play Your Favourite Games
The mostbet casino section transforms mobile devices into portable gaming establishments through an expansive library of digital entertainment options. Slot enthusiasts benefit from partnerships with premier developers like NetEnt, Microgaming, and Playtech, resulting in over 500 diverse titles ranging from classic fruit machines to contemporary video slots with elaborate bonus mechanics. Table game aficionados can access multiple variants of blackjack, roulette, baccarat, and poker, each optimized for touchscreen interaction.
The live dealer section elevates the experience by streaming professional croupiers conducting games in real-time, creating authentic casino atmospheres accessible from any location. These interactive sessions span traditional table games alongside specialized options like Dream Catcher and Monopoly Live, with multiple camera angles and betting interfaces enhancing immersion. The platform’s fluid navigation system enables seamless transitions between casino games without performance degradation or loading delays.
Mostbet App Bonuses and Promotions for UK Players
UK players accessing Mostbet through the mobile application qualify for the platform’s comprehensive promotional structure, beginning with a substantial welcome package. New registrants can receive matched deposits alongside 250 free spins distributed across popular slot titles, with straightforward wagering requirements compared to industry standards. The ongoing promo calendar includes reload bonuses, cashback offers, and sport-specific enhancers like acca boosts and risk-free bets.
The loyalty program represents perhaps the most substantial long-term value proposition, awarding points based on betting activity across both sports and casino sections. These points facilitate progression through status tiers, each unlocking enhanced benefits including expedited withdrawals, dedicated account managers, and customized free bets. Critically, all bonuses can be claimed directly through the mobile interface without requiring desktop verification, enabling true on-the-go account management and promotion utilization.
How to Deposit and Withdraw Funds Using Mostbet App?
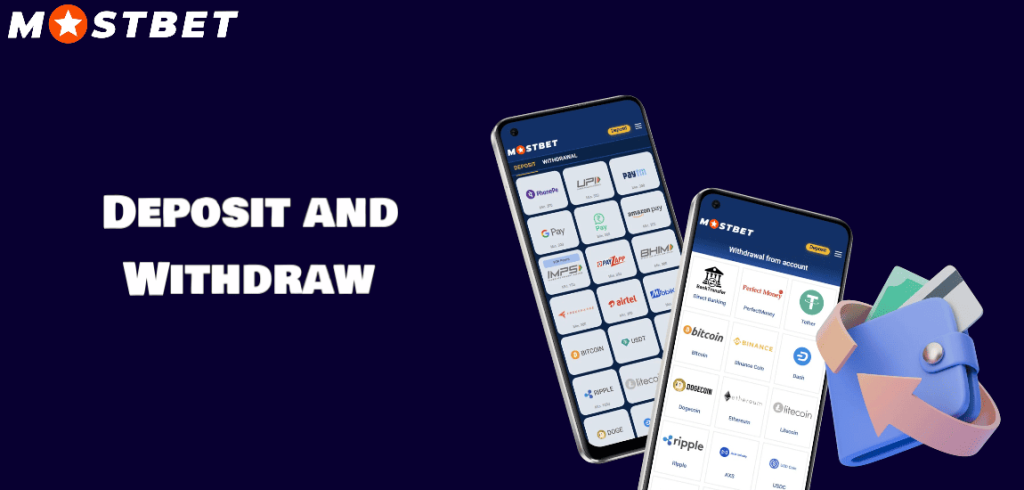
Managing financial transactions through the Mostbet application provides a streamlined alternative to browser-based banking, with integrated security features and optimized mobile interfaces enhancing the overall experience.
Payment Methods Supported in the UK
| Payment Category | Available Options | Processing Time | Minimum Deposit |
|---|---|---|---|
| Debit Cards | Visa, Mastercard | Instant | £10 |
| E-Wallets | PayPal, Skrill, Neteller, Paysafecard | Instant | £5-£10 |
| Bank Transfers | Direct Bank Transfer, Trustly | 1-3 banking days | £20 |
| Cryptocurrencies | Bitcoin, Ethereum, Litecoin | 10-30 minutes | Equivalent to £20 |
| Mobile Payment | Apple Pay, Google Pay | Instant | £5 |
Each payment option maintains specific maximum transaction limits and associated fees as outlined in the mostbet site terms and conditions section. UK regulations prohibit credit card transactions for gambling purposes, restricting deposits to debit instruments only.
How to Make a Deposit on Mostbet App
Funding your mostbet account through the mobile application involves a straightforward procedure:
- Launch the Mostbet app and log into your account
- Tap the “Deposit” button typically located in the account section or main menu
- Select your preferred payment method from the available options
- Enter the desired deposit amount (ensuring it meets the minimum requirement)
- Complete any payment-specific authentication steps (such as 3D Secure verification for debit cards)
- Confirm the transaction and wait for confirmation
The system processes most deposit methods instantly, with funds appearing in your account balance immediately upon successful transaction completion. The mobile version maintains transaction records accessible through the account history section for reference purposes.
Withdrawing Winnings from Mostbet App
The withdrawal process implements additional verification measures to ensure regulatory compliance and security:
- Navigate to the Banking or Cashier section within the application
- Select “Withdrawal” from the available options
- Choose your preferred withdrawal method (typically limited to methods previously used for deposits)
- Specify the withdrawal amount
- Confirm the transaction
First-time withdrawals typically trigger a verification requirement, necessitating document submission through the application’s secure upload feature. UK regulations mandate Know Your Customer (KYC) verification, requiring proof of identity (passport/driver’s license), proof of address (utility bill/bank statement), and confirmation of payment ownership.
Standard withdrawal processing times range from immediate (e-wallets) to 5 business days (bank transfers), with most requests completed within 24 hours. The minimum withdrawal threshold varies by payment option but generally starts at £10, with maximum limits determined by account verification status and selected withdrawal method.
Mostbet App Support & Security
The Mostbet application implements comprehensive security protocols that safeguard user data and financial transactions. Advanced encryption technology protects all information exchanges between the mobile device and company servers, while customizable security settings enable personalized account protection measures including biometric authentication and two-factor verification. The platform operates under the Curacao gaming license (8048/JAZ), ensuring adherence to international gambling regulations and fair betting practices. Independent auditing firms regularly verify random number generation algorithms and payout percentages, maintaining transparency across both sports and casino operations.
Comprehensive customer support represents another cornerstone of the Mostbet user experience, with multiple assistance channels operating continuously. The mostbet customer support team remains accessible 24/7 through in-app live chat, email correspondence ([email protected]), and dedicated telephone lines for UK users. Response times typically range from immediate (live chat) to under four hours (email inquiries), with multi-language support staff trained to address account management, banking procedures, and technical troubleshooting. The detailed FAQ section provides immediate answers to common queries, while the support representatives deliver personalized assistance for complex issues, demonstrating the platform’s commitment to user satisfaction and operational integrity.
The document provides information comparing the Mostbet mobile app with its mobile website version, highlighting differences in speed, features, and convenience. For this section, I need to create a comparison table followed by a brief explanation totaling approximately 150 words. I’ll focus on clearly differentiating between the mobile apps and browser version while incorporating the required keywords (mobile apps, browser, mostbet website) and LSI terms (interface, easy account management). The format will be primarily a comparative table showing pros and cons of each option, followed by a brief conclusion that helps users determine which option might be best for their needs. I’ll maintain an academic yet accessible tone while ensuring all information is accurate and non-repetitive from previous sections.
Mostbet App vs. Mobile Website – Which One to Choose?
| Feature | Mostbet Mobile Apps | Mostbet Website (Browser) |
|---|---|---|
| Installation | Requires download and installation | No download required |
| Storage Space | Occupies device memory (19.46MB Android/113.9MB iOS) | No storage impact |
| Loading Speed | Faster operation with pre-loaded elements | Slightly slower due to browser dependencies |
| Notification System | Push notifications for bets and promotions | Email notifications only |
| Offline Access | Limited offline functionality available | Requires constant internet connection |
| Interface Stability | Consistent layout and navigation | May vary slightly between browsers |
| Battery Consumption | Higher efficiency, optimized for mobile | Higher battery usage |
| Updates | Requires manual or automatic updates | Always current version |
| Security | Additional device-level security options | Relies on browser security |
| Multi-account Usage | Requires separate app installations | Easy switching between accounts |
The decision between mobile apps and browser access ultimately depends on individual preferences and usage patterns. The dedicated applications offer superior performance metrics, including faster page loading, smoother transitions between sections, and enhanced easy account management through integrated biometric authentication. Conversely, the mostbet website provides immediate access without installation requirements, conserves device storage, and maintains consistent functionality across multiple devices. Regular bettors benefit most from the application’s optimized interface and reduced data consumption during extended sessions, while occasional users may find the browser version more convenient for spontaneous wagering without commitment to permanent installation.
Frequently Asked Questions (FAQ)
🌐 Can I use the Mostbet app without downloading it?
Yes, you can use the Mostbet mobile version via a browser, but the app offers a faster and smoother experience.
🛎️ Is customer support available in the Mostbet app?
Yes, you can contact customer support via live chat, email, or phone directly in the app.
♻️ How do I update the Mostbet app to the latest version?
Visit the Mostbet website or the App Store to download the newest version and follow the installation instructions.
❓ What should I do if I can’t install the app?
Check if your device meets system requirements, ensure that security settings allow installations from unknown sources, or contact customer support.
🔑 Can I access the app on multiple devices?
Yes, you can access the app on different devices, but you should log in with your Mostbet account credentials.
📲 How do I install the app on my Android device?
You need to download the APK file from the official website, enable installation from unknown sources, and follow the on-screen steps.
📥 Is the Mostbet app free to download?
Yes, the Mostbet app is free to download and install on both Android and iOS devices.